
Germinating marijuana seeds is the first step on your journey to growing your own cannabis plants. It might sound complicated, but don’t worry! I’ll guide you through five easy methods so you can choose the one that feels right for you.
Inspecting Cannabis Seeds
Before you even think about germination methods, take a close look at the seeds you plan to use. Not all seeds are created equal, and although most seeds will germinate, starting with high-quality seeds is essential for growing strong and healthy plants. Here are a few things to keep in mind:
- Coloration: High-quality seeds usually have a darker coloration. Look for shades of brown, grey, or even black. A healthy, shiny coat is a good indicator that the seed is viable. On the other hand, seeds that are pale green or white are less likely to succeed.
- Physical: Even if darker seeds seem slightly damaged or the outer shell appears somewhat crushed, they’re often still viable and worth planting. However, seeds should not be cracked open or broken.
Creating The Ideal Germination Environment
Achieving the right conditions for your seeds to germinate successfully is arguably the most critical step. Let’s break down these ‘golden rules’ for germination:
- Temperature: The magic range for cannabis seed germination is between 22°C and 25°C (71–77°F). Temperatures outside this range risk either slowing down germination or preventing it altogether.
- Moisture: Seeds need to be moist to germinate, but not soaking wet. An environment that is too wet can lead to issues like mold, which is detrimental to young seedlings.
- Humidity: Aim for a relative humidity (RH) level between 70% and 90%. Humid conditions support moisture retention in the germination medium but avoid waterlogging.
- Light: While seeds don’t need light to germinate, once they’ve sprouted, fluorescent lighting is beneficial for seedlings. Cool White code 33 bulbs are suitable.
- Handling: Minimize how much you handle the seeds. If you need to move them, do so gently to avoid damaging the fragile structures that will become your plant.
- pH Levels: For those starting seeds in hydroponic systems or rockwool plugs, maintaining a pH level between 5.8 and 6.2 is crucial for supporting nutrient uptake.
Germination Time Frames
The germination process is triggered by the combination of warmth, moisture, and darkness. When these conditions are met, you can expect the first signs of a taproot to appear sometimes within 12 to 36 hours. However, the timeline can vary based on the exact environmental conditions:
- Seeds in optimal conditions will typically begin their development within a day or so.
- In less than ideal circumstances, the process can be prolonged, taking a few weeks, which increases the risk of a weaker plant.
Remember, patience is key when germinating cannabis seeds. Providing a stable, controlled environment for your seeds to sprout is the first step in cultivating healthy plants. By understanding what to look for in your seeds and how to create the perfect germination environment, you’ll increase your chances of success from the very start.
5 Common Germination Methods
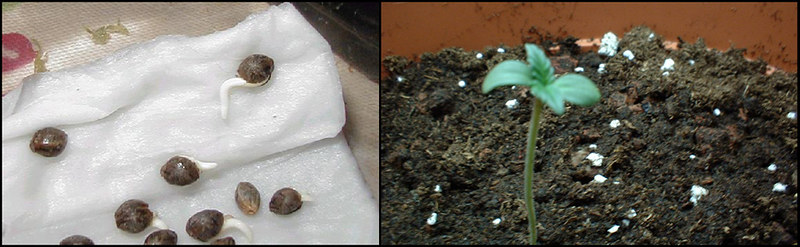
1. The Paper Towel Method

This method is beloved for its simplicity and effectiveness.
- You Need: Paper towels, water, two plates, and seeds.
- How To:
- Wet two paper towels and wring them out so they’re moist, not dripping.
- Place one towel on a plate.
- Spread your seeds over the towel, leaving some space between them.
- Cover with the second towel.
- Place the second plate upside down on top to create a dark, moist environment.
- Check daily to ensure the towels remain moist and wait for the seeds to sprout, usually in a few days.
2. Direct Soil Planting
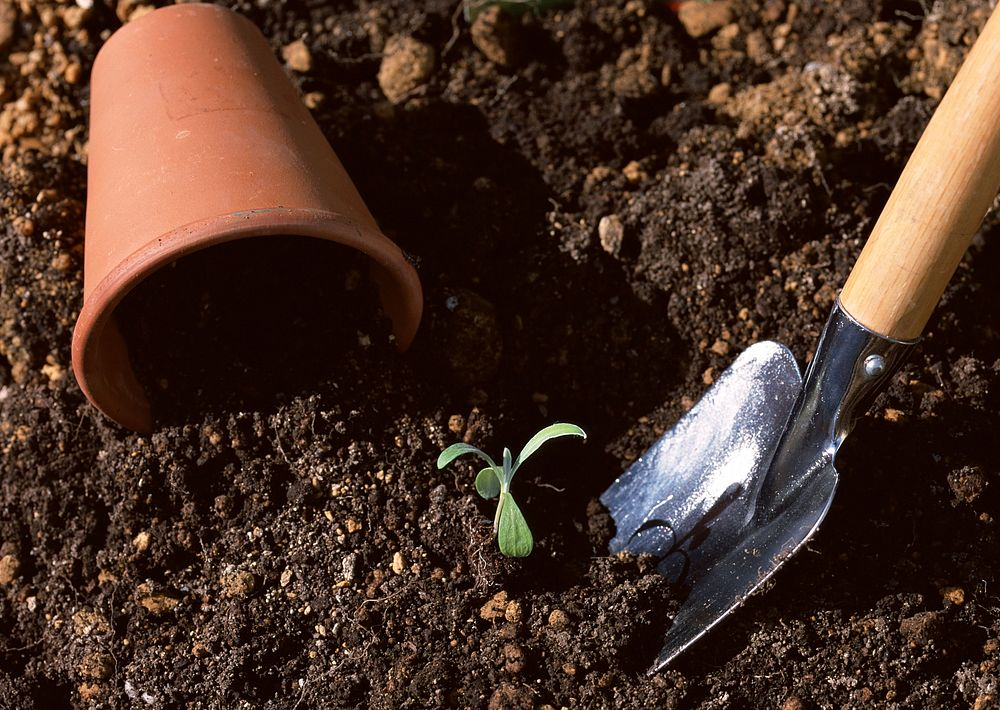
Some growers prefer to start their seeds directly where they will grow.
- You Need: Potting soil, pots, and seeds.
- How To:
- Fill your pots with a good-quality potting soil.
- Moisten the soil with water.
- Make a small hole about a quarter-inch deep in the center of the pot.
- Place a seed in the hole and cover it lightly with soil.
- Keep the soil moist but not waterlogged.
This method allows the seedling to grow in its permanent home from the start, minimizing transplant shock.
3. Using Peat Pellets or Starter Plugs
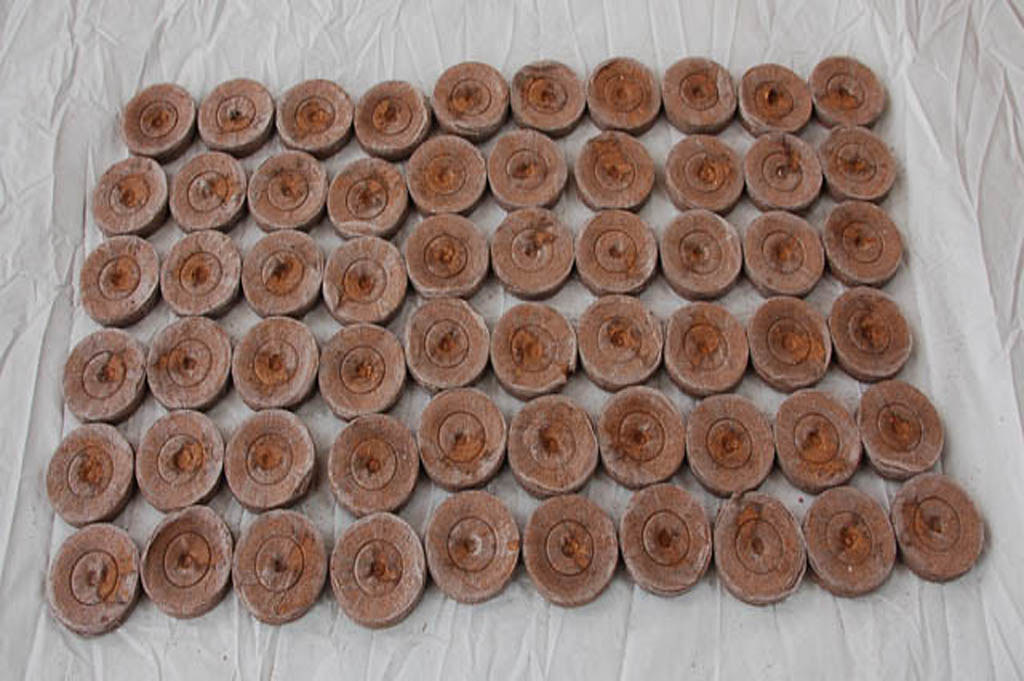
Starter plugs and peat pellets offer an easy way to start seeds with minimal mess and effort.
- You Need: Peat pellets or starter plugs, water, tray, and seeds.
- How To:
- Soak the peat pellets or starter plugs in water until they expand.
- Once they’re ready, insert a seed into the hole of each pellet or plug.
- Keep the plugs or pellets moist and warm.
These provide an ideal environment for seed germination and can be directly transplanted to prevent root disturbance.
4. The Water Soak Method

Soaking seeds in water can help speed up the germination process for older or hard seeds.
- You Need: A glass of water and seeds.
- How To:
- Fill a glass with warm (not hot) water.
- Drop your seeds into the water and let them soak for 12 to 24 hours.
- After soaking, follow the paper towel method or plant the seeds directly in soil.
This method softens the seed’s shell, making it easier for the sprout to emerge.
5. Germination Stations or Heat Mats
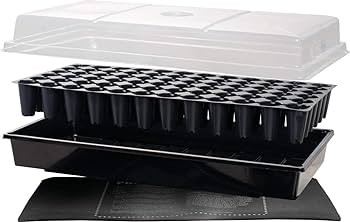
Ideal for those living in cooler climates or for extra precision.
- You Need: A germination station or heat mat, seeds, and usually either soil or some form of starter plug.
- How To:
- Place your seeds into your chosen growing medium and set up on the heat mat or in the germination station according to the product’s instructions.
- These devices provide a consistent and ideal temperature for seed germination.
- Monitor moisture and temperature closely to ensure ideal conditions.
No matter which method you choose, patience is key. Give your seeds the time they need to wake up and start their journey. Soon, you’ll see the first signs of life as your cannabis plants begin to grow. Remember, always comply with your local laws and regulations regarding cannabis cultivation.
Giving cannabis seeds the best start in life not only sets the foundation for a robust and healthy plant but also maximizes the potential yields and quality of your final product. Here’s a comprehensive guide to navigating the germination process, addressing common issues, and ensuring your seeds flourish into thriving cannabis plants.
Lighting for Germination
- Initial Stages: Use fluorescent or CFL (Compact Fluorescent Light) grow lights. Position these about 15cm (approximately 6 inches) from your seeds or young seedlings.
- Adjusting Distance: Once the first true leaves develop, you can move the lights closer, to about 5cm (2 inches). Use the “hand test” to ensure the heat is not too intense for the seedlings.
- Transition: After about two weeks, it should be safe to switch to more high-powered lighting, such as HPS (High-Pressure Sodium) or MH (Metal Halide) lights, conducive to growing robust plants.
Dealing With Upside-Down Seeds
- Root Growth: It’s common to worry if it seems like the seed is positioned upside-down. However, roots intrinsically grow downwards due to gravitropism, so there’s no need for repositioning.
- Patience is Key: Avoid disturbing the seed. If it looks like something is emerging from the top of the seed, it’s likely the stem. Wait for the cotyledons (first leaves) to appear; the seedling usually corrects any orientation issues on its own.
Germination to Seedling Stage
- When to Start Feeding: Generally, there’s no need for added nutrients in the first 2–3 weeks if using soil, as it already contains sufficient nutrients. For coco coir or hydroponic setups, start with nutrients at 0.25x strength after the first week, gradually increasing with plant growth.
- Nutrient Needs: Look out for changes in leaf color. Pale green leaves suggest nutrient depletion, while yellowing indicates an urgent need, typically for nitrogen. Adjusting nutrient levels can quickly restore leaf health.
Maintenance and Care
- Minimal Interference: For the first few weeks, aside from slight adjustments in lighting and initial nutrient provision, your seedling will predominantly thrive with minimal interference, provided the environment is stable.
- Vegetative Transition: As your plant moves past the seedling stage, prepare for more rigorous care routines, including strict light schedules and higher light intensity, reflective of its more demanding growth requirements.
Ensuring Success
To optimize your cannabis seed germination and subsequent growth stages:
- Replicate Spring Conditions: Aim to create an environment that mimics the mild, moist conditions of spring—ideal for seed germination.
- Regular Observations: While it’s essential to minimize disturbances, keeping a close eye on your plant’s development will help you promptly address any issues that arise.
- Seek Advice if Unsure: Remember, resources are abundant, whether it be online forums, cultivation guides, or fellow growers. If you’re ever in doubt, there’s no harm in seeking out advice.
By following these guidelines and nurturing your seedlings with care, patience, and the correct conditions, you’re setting the stage for a successful and rewarding cultivation journey. Enjoy watching your cannabis plants grow and develop, knowing you’ve given them the very best start.